
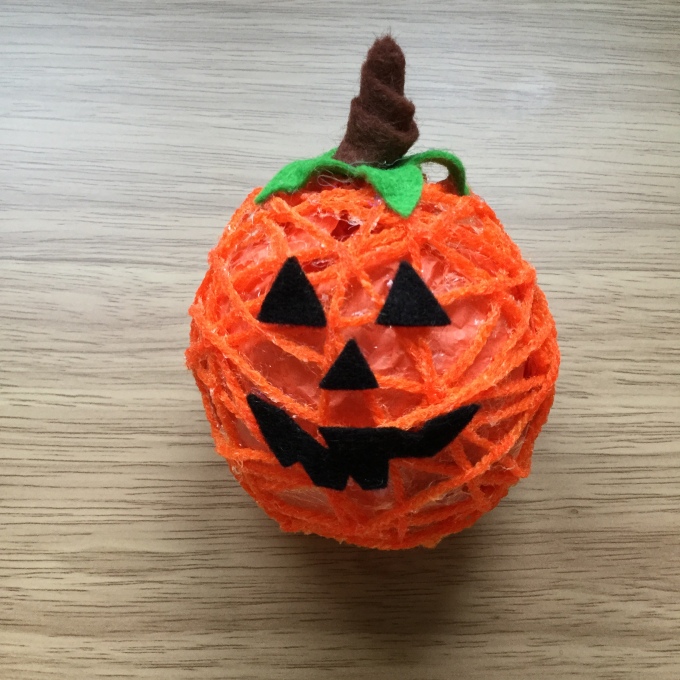
Ready for Halloween? Add extra scare to your Halloween party with these DIY pumpkin treat holders! Such a fun and easy DIY with great results all round! Join me for Part 1 of my Halloween DIY series.
Here’s what you’ll need:
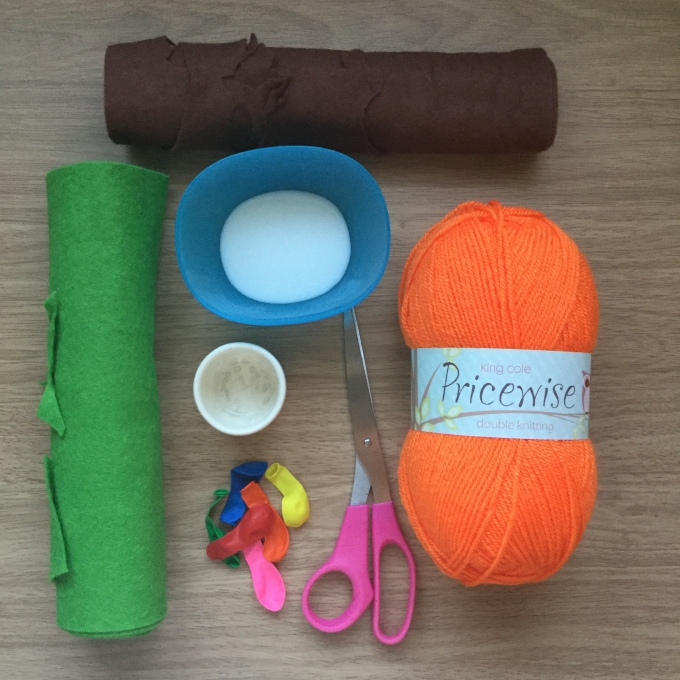
- Orange wool
- Small balloons
- PVA glue
- Green, black and brown felt
- Scissors
- Small pot (I used an egg cup)
- Tissue papers
- Halloween chocolates
Let’s get started!
Blow up a balloon to about half the normal size, so that it easily fits in your hand. Make sure you secure the end of the balloon tightly as we need the shape to stay the same throughout the whole process.

Now we can start using the wool. I tried a few different methods whilst doing this DIY. On my first attempt, I kept the wool still attached whilst I wrapped it around the balloon. It was a little fiddly this way but keeping the wool still attached in one long line made the shape more firm and set.
Another way I tried was cutting the wool roughly into 30cm lengths but the structure wasn’t as strong and you can see the joinings as well. However it was a quicker method! So it’s completely up to you which method you use!


When you’ve chosen your method we can begin. Pour your glue into a small container and submerge the wool into it, small sections of wool at a time. The more glue you have on the wool the harder it will dry!
Hold the end of the wool on any part of the balloon and begin wrapping around. For a better effect, keep changing the direction you’re wrapping in! Also make sure you leave a big enough gap around the knot when wrapping so we can remove the balloon after.


I’m not entirely sure how much wool I used in the end but you want to keep wrapping the wool until there are no more big gaps showing.
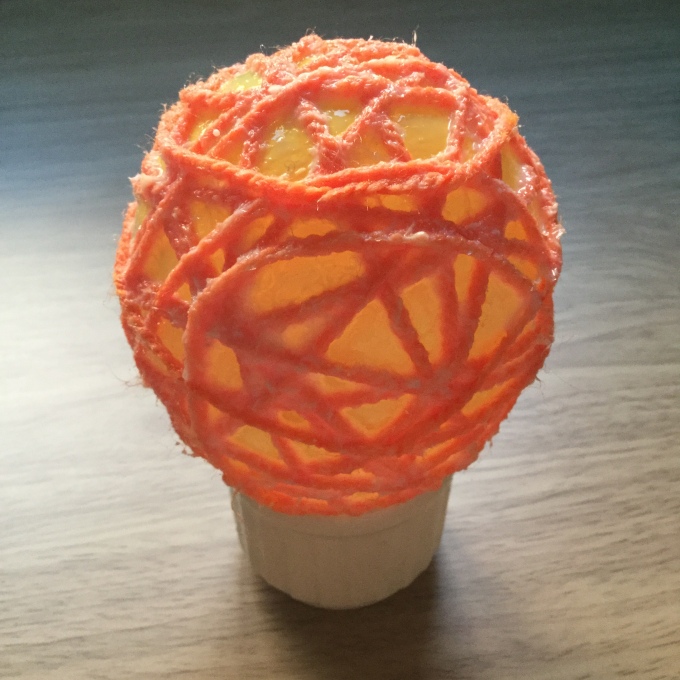
Once you’re happy with how it looks, leave it to one side to dry. I left my pumpkins to dry for about 2 days to make sure it was all set in shape properly.


Now we can remove the balloon. Using scissors, snip near the knot and the balloon will start to shrink and pull away from the edges. Once deflated remove the balloon.


This step is optional but I decided to put tissue paper inside my pumpkins and then I filled them up with Halloween chocolates!


Time to decorate! Using the felt, cut out a flower shape from the green felt for the top and roll up some brown felt for the stalk. For the pumpkins face use some small scraps of black felt. Now glue all of the felt on using your PVA glue!


And you’re done! I think these would work great at a Halloween themed party! Set them on the food table or simply use them as decorations! A fun and easy DIY for all ages!
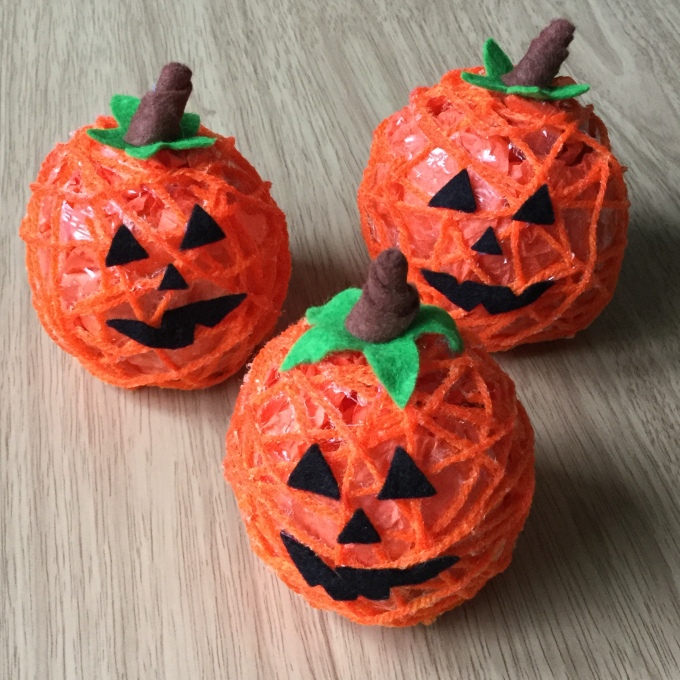
I hope you’ve enjoyed this project. If you have a go don’t forget to share your makes with us on Instagram @aboxofbuttons or on Twitter @aBoxofButtons! See you next time!

That is a great idea, Hannah! I love them!! 🙂
LikeLiked by 1 person
Thanks so much Megan! So pleased with how they turned out 🙂
LikeLike
Yeah! They are adorable. 🙂
LikeLike
Glad you think so! 🙂
LikeLike
Brilliant idea!
LikeLiked by 1 person
Thank you!
LikeLike
So cute! Ooh, and that would make a fun game, too – to try and get the candies out of the string. 🙂
LikeLiked by 1 person
Thank you! Oh what a great idea!
LikeLike
You’re very welcome!
LikeLiked by 1 person
Definitely a cute and fun idea for kids.
LikeLiked by 1 person